13 How to Match Backsplash Ideas to Show Your Contractor
- Classic White Subway Tile with Contrasting Grout
- Handmade Zellige Tile in a Warm Neutral
- Herringbone Pattern in Marble Look Porcelain
- Full Height Slab Backsplash
- Bold Colored Tile as a Statement Wall
- Mosaic Tile Behind the Stove Only
- Vertical Stacked Subway Tile
- Natural Stone with a Honed Finish
- Peel and Stick Tile for a Rental Refresh
- Extended Backsplash Behind Open Shelving
- Geometric Tile in a Small Powder Room or Butler’s Pantry
- Textured Matte Tile in a Muted Tone
- Two-Tone Backsplash with a Transition Line
13 How to Match Backsplash Ideas to Show Your Contractor
Walking into a contractor meeting with a clear vision saves you time, money, and a lot of back-and-forth emails. Backsplash decisions can feel overwhelming when you’re staring at hundreds of tile options online, but showing up with specific reference images makes the whole process smoother. Your contractor can quote accurately, order the right materials, and avoid the dreaded mid-project “wait, that’s not what I pictured” conversation. Here are 13 backsplash directions worth screenshotting before your next appointment.
Classic White Subway Tile with Contrasting Grout
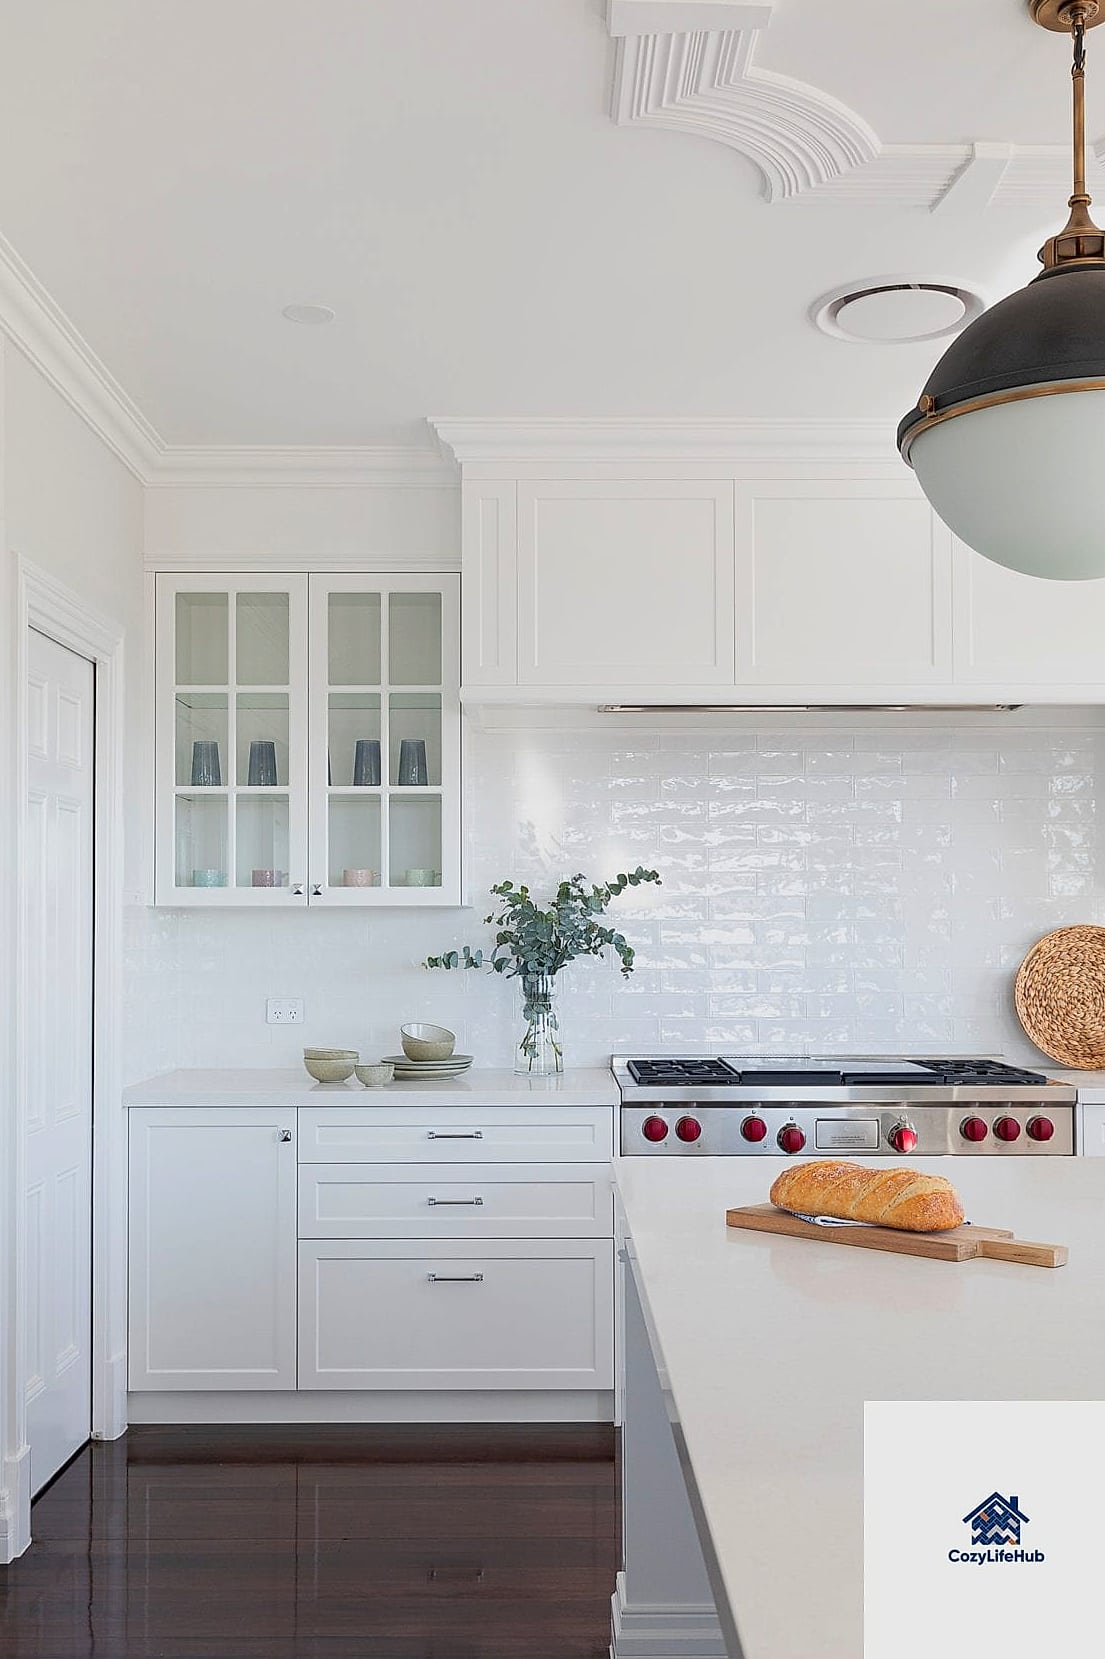
This is the reference photo every contractor has seen a thousand times, and there’s a reason for that. White subway tile with dark charcoal or black grout gives you clean lines and a graphic look that photographs beautifully. It works in almost any kitchen style, from farmhouse to modern minimalist. Bring a photo showing the grout color specifically, since that’s the detail that changes the whole vibe. Ask your contractor about grout sealing too, since dark grout near a cooktop needs a little extra protection from grease splatter.
Handmade Zellige Tile in a Warm Neutral
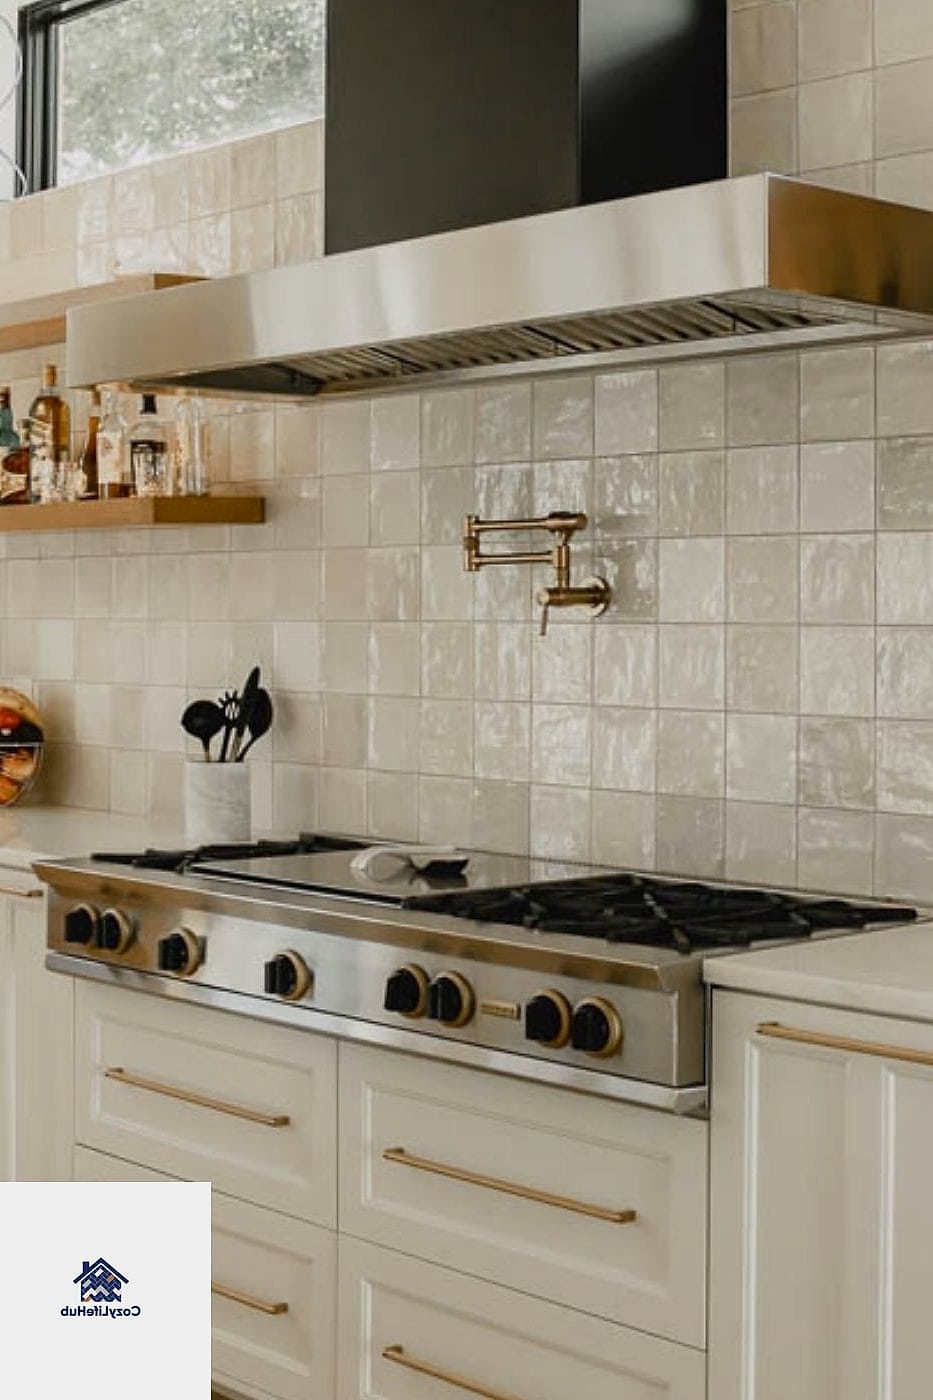
Zellige tiles have that irregular, slightly wavy surface that catches light differently across every single piece. Show your contractor a close-up photo so they understand these aren’t going to lay perfectly flat like standard ceramic tile, which is part of the charm but also affects installation time. This style works best in kitchens where you want texture and warmth rather than a super polished look. It’s pricier than machine-made tile, so mention your budget upfront since zellige can run significantly higher per square foot.
Herringbone Pattern in Marble Look Porcelain
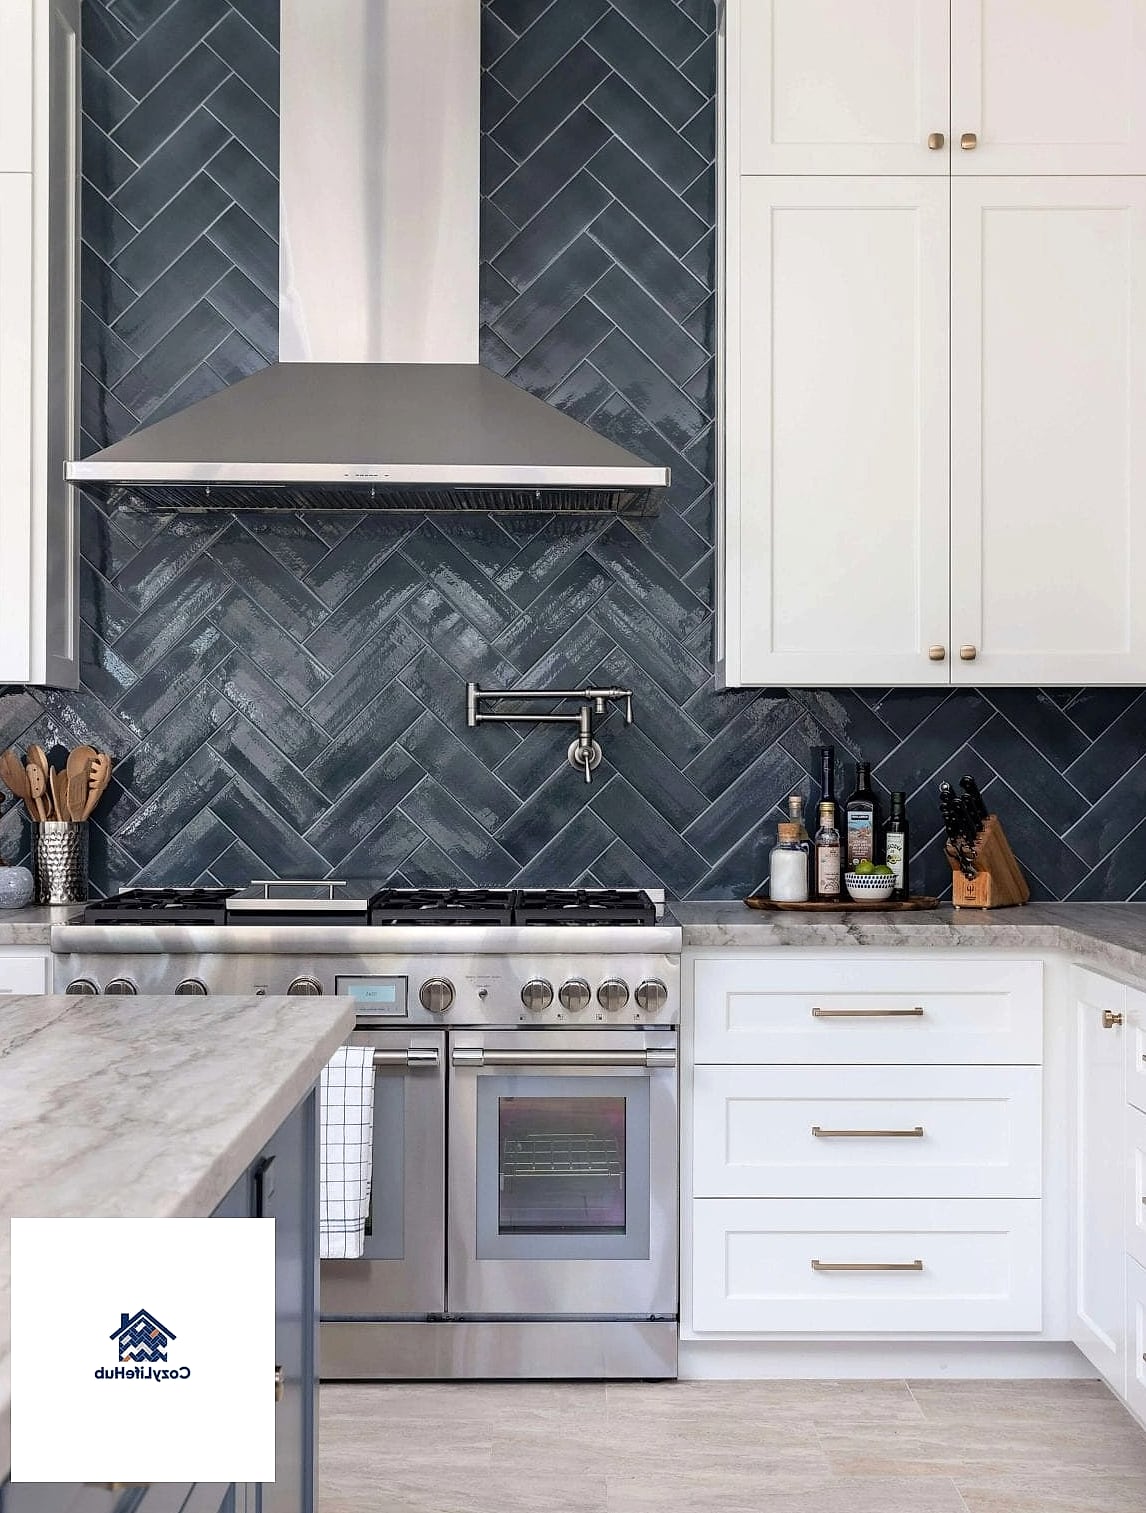
Herringbone instantly elevates a backsplash from simple to intentional, and porcelain gives you the marble look without the maintenance headaches of real stone. Bring a diagram or photo showing the direction you want the pattern to run, since horizontal versus vertical herringbone changes the whole feel of the space. This layout does require more cutting and precision, so your installation cost will likely be higher than a straight-lay pattern. It’s a great pick if you love the look of natural stone but have a busy household that can’t babysit sealant schedules.
Full Height Slab Backsplash
Instead of tile, some homeowners are going with a single slab of quartz or porcelain that runs from countertop to upper cabinets. Show your contractor a photo of the seamless look you’re after, along with the exact material if you already know it. This option means fewer grout lines to clean, which pet owners and busy families tend to appreciate. It’s a bigger upfront investment, but many people find the low-maintenance payoff worth it long term.
Bold Colored Tile as a Statement Wall
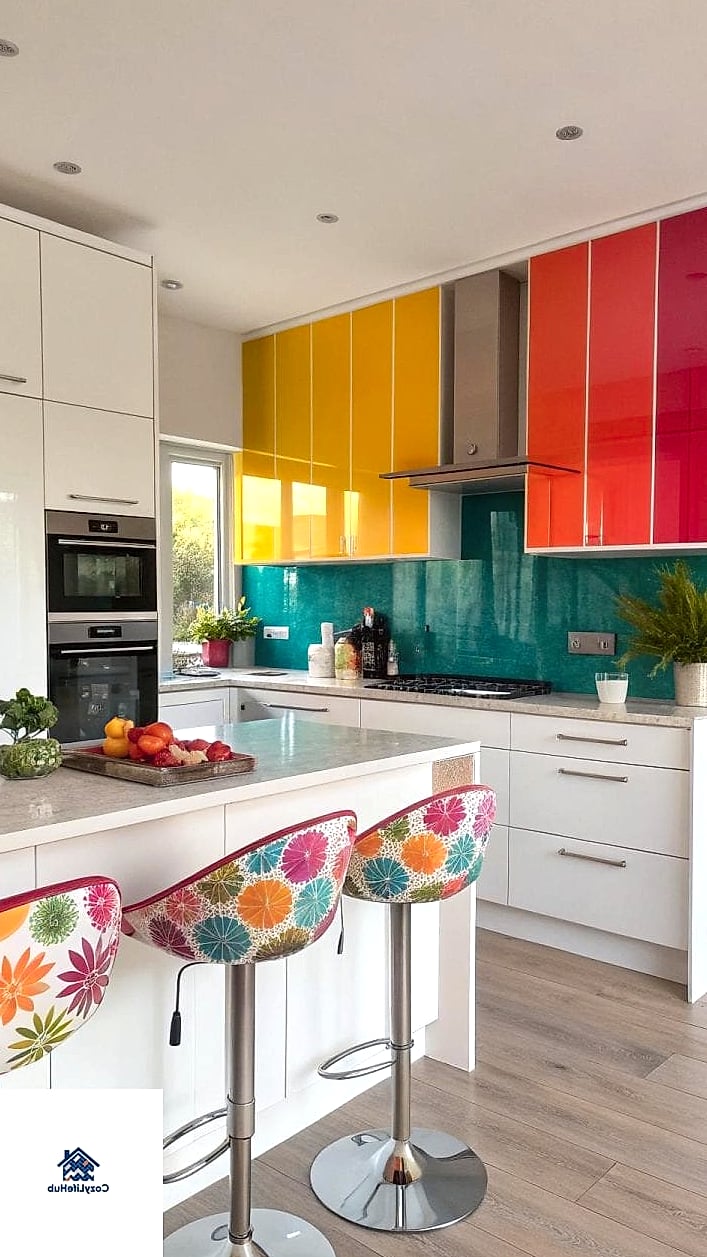
If you’re leaning toward a saturated color like deep green, terracotta, or cobalt blue, bring more than one photo showing different lighting conditions. Tile color can shift dramatically between a bright showroom and your actual kitchen lighting. This idea works especially well behind a range as a focal point rather than covering every wall. Talk to your contractor about pairing it with simpler countertops and cabinetry so the backsplash stays the star of the show.
Mosaic Tile Behind the Stove Only
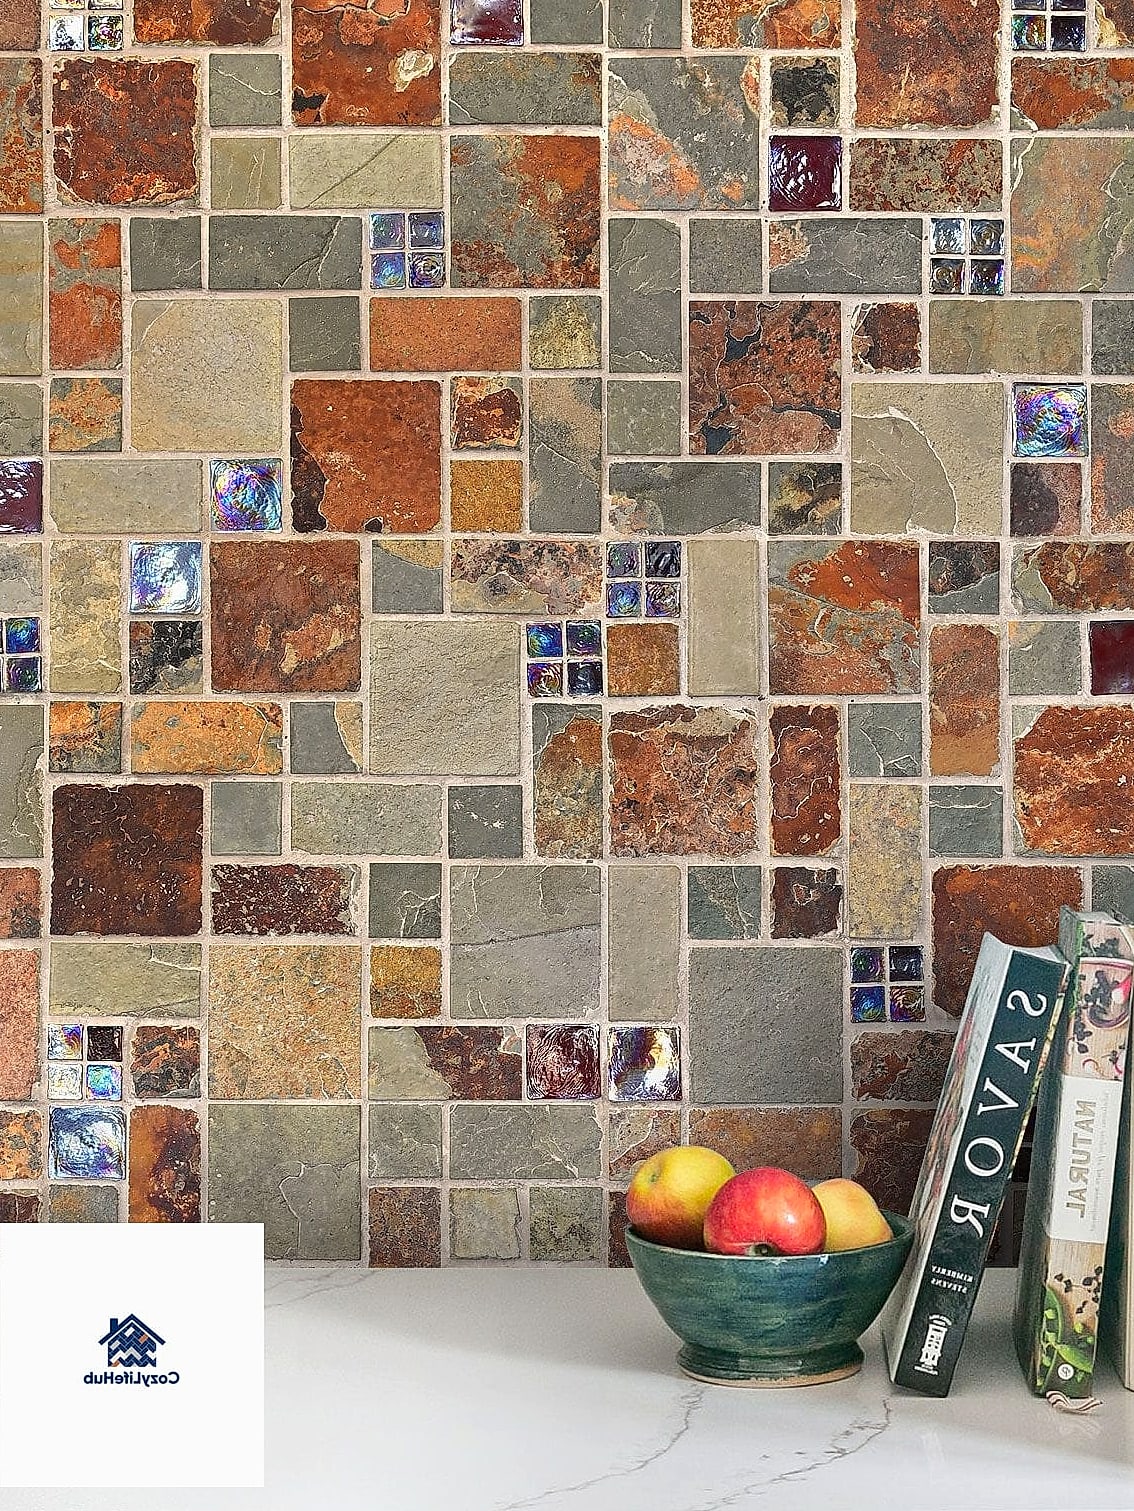
Not every backsplash needs to run wall to wall. A concentrated mosaic accent behind the range, paired with simpler tile elsewhere, keeps costs down while still giving you a striking detail. Bring reference photos showing both the accent tile and the field tile so your contractor understands where one stops and the other begins. This approach is budget-friendly since you’re using premium tile in a smaller area. It’s also a nice option if you’re renovating in phases and want room to update the accent later.
Vertical Stacked Subway Tile
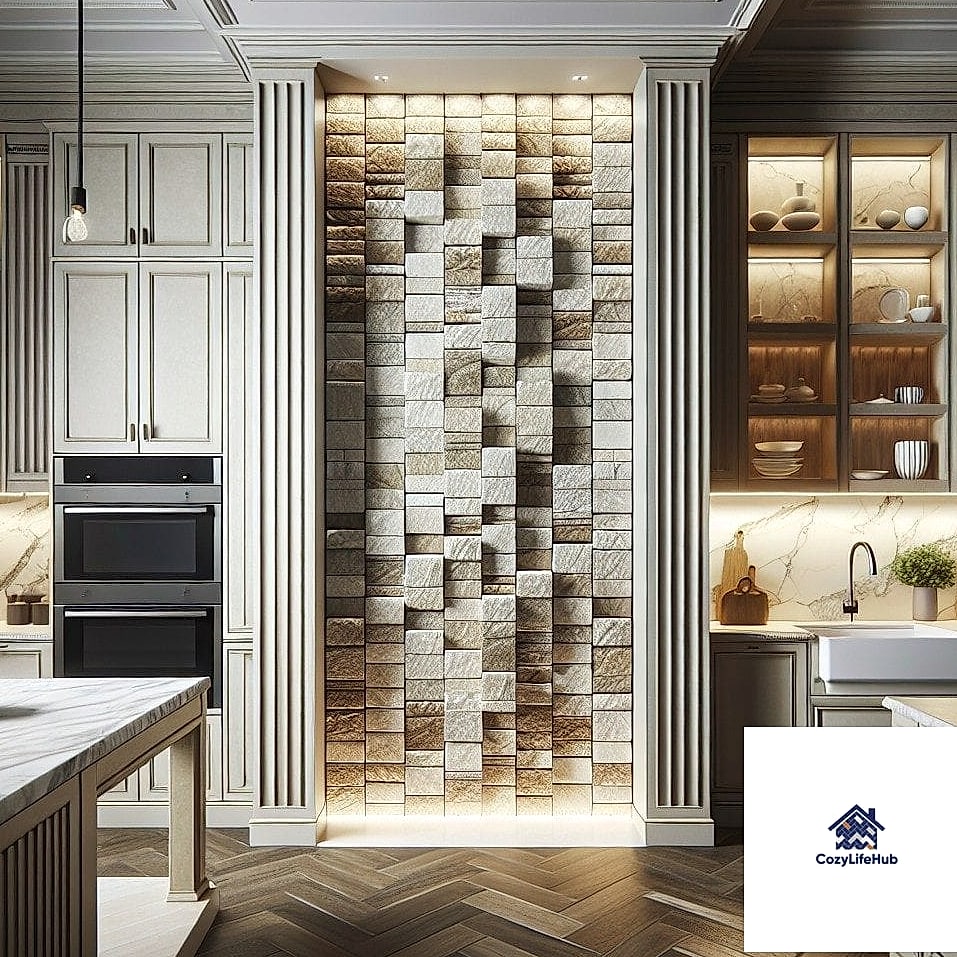
Turning standard subway tile on its side changes the whole rhythm of a backsplash without changing the material cost much at all. Show your contractor a photo highlighting the vertical stack specifically, since this is easy to describe wrong in words alone. It tends to make a kitchen feel taller, which works well in spaces with lower ceilings. This is also a solid DIY-adjacent option if you’re doing some of the prep work yourself and want a straightforward layout.
Natural Stone with a Honed Finish
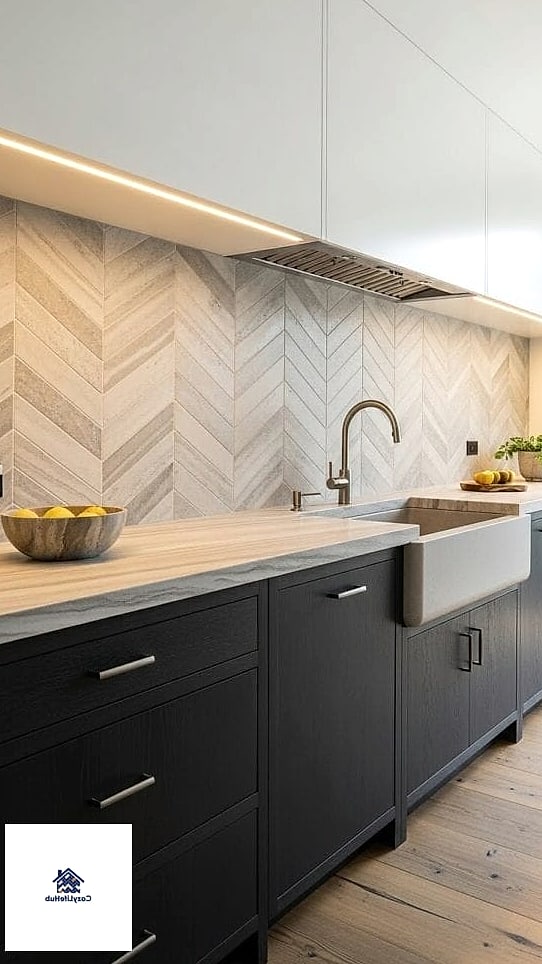
Honed stone has a soft, matte surface instead of the glossy shine you’d get from polished stone. Bring a photo that clearly shows the finish, because honed and polished versions of the same stone can look completely different in person. This finish tends to hide water spots and fingerprints better than glossy options, which is a real perk near a sink. Mention to your contractor that you want honed specifically, since some installers will assume polished unless told otherwise.
Peel and Stick Tile for a Rental Refresh
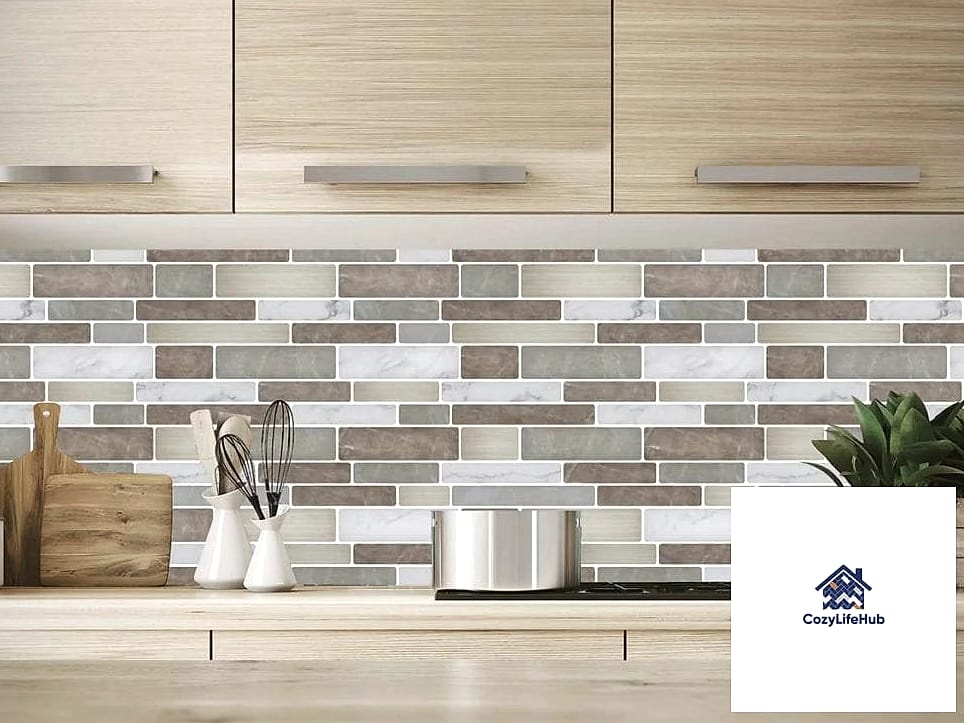
If you’re renting or just want a temporary update, peel-and-stick options have come a long way and can look surprisingly convincing in photos. Bring your landlord-approved reference image and ask your contractor, or a handy friend, whether the wall surface underneath will actually support the adhesive. This is one of the few backsplash ideas that’s genuinely a weekend DIY project rather than something requiring a full install. Just be upfront that this is a temporary material so expectations around longevity stay realistic.
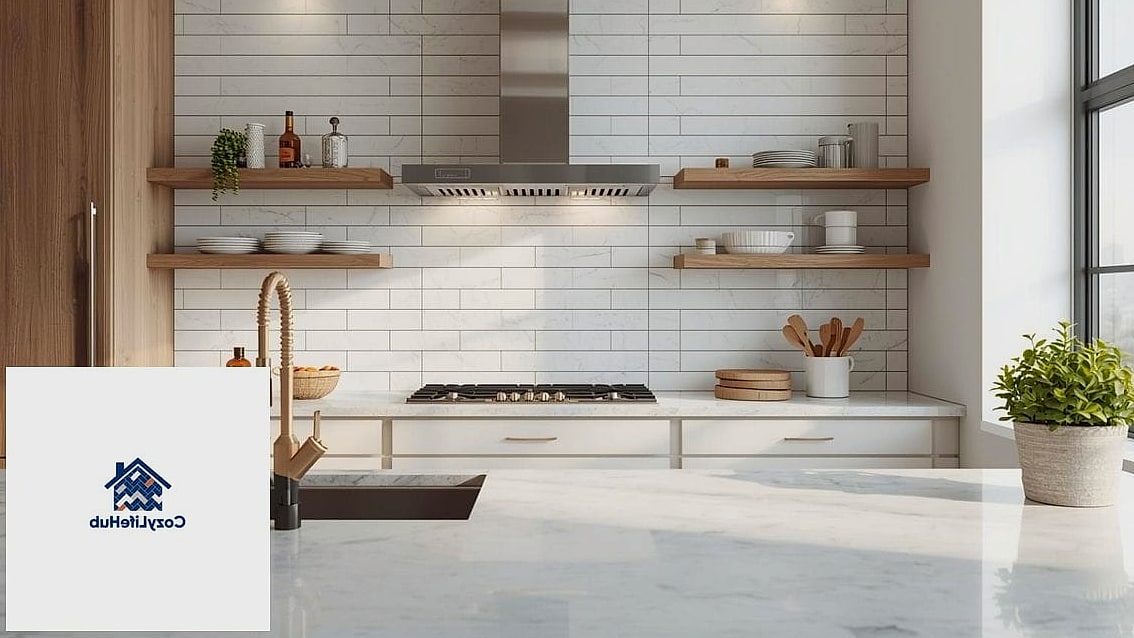
Extended Backsplash Behind Open Shelving
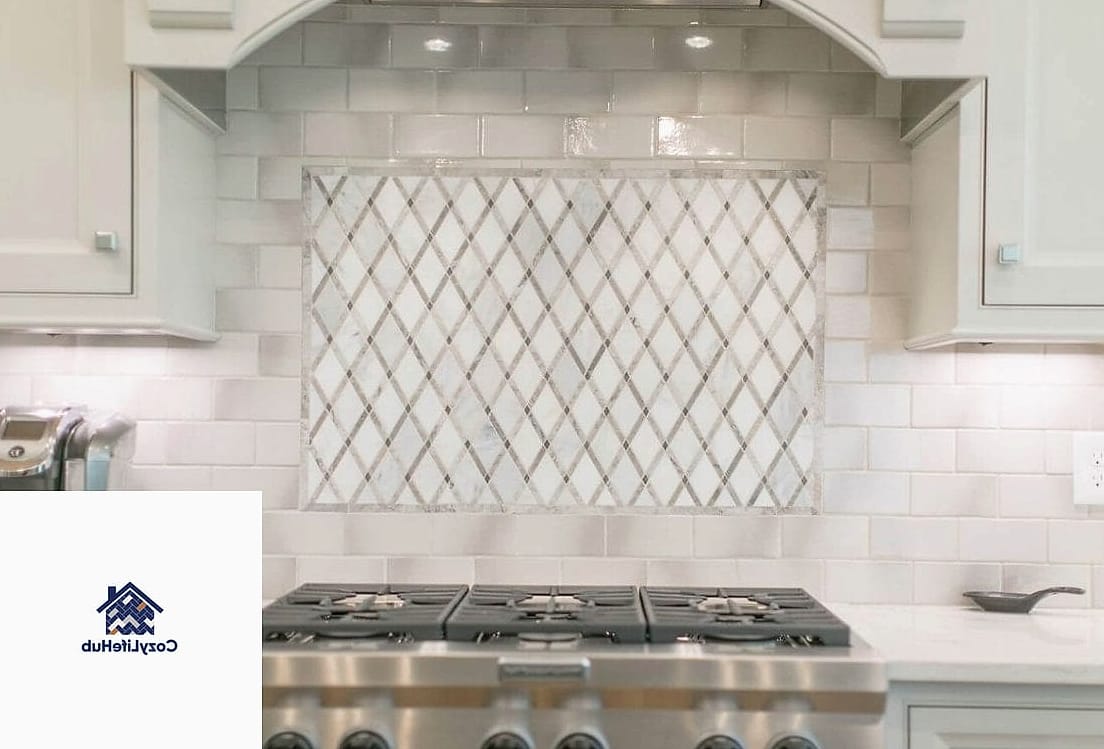
Open shelving has stuck around as a kitchen trend, and pairing it with a backsplash that runs up behind the shelves ties the whole wall together. Show a photo of the full wall, shelves included, so your contractor can plan tile placement around the shelf brackets. This works nicely with warm wood tones and simple ceramic tile in a neutral palette. It’s worth discussing bracket placement early, since moving hardware after tile is set gets complicated fast.
Geometric Tile in a Small Powder Room or Butler’s Pantry
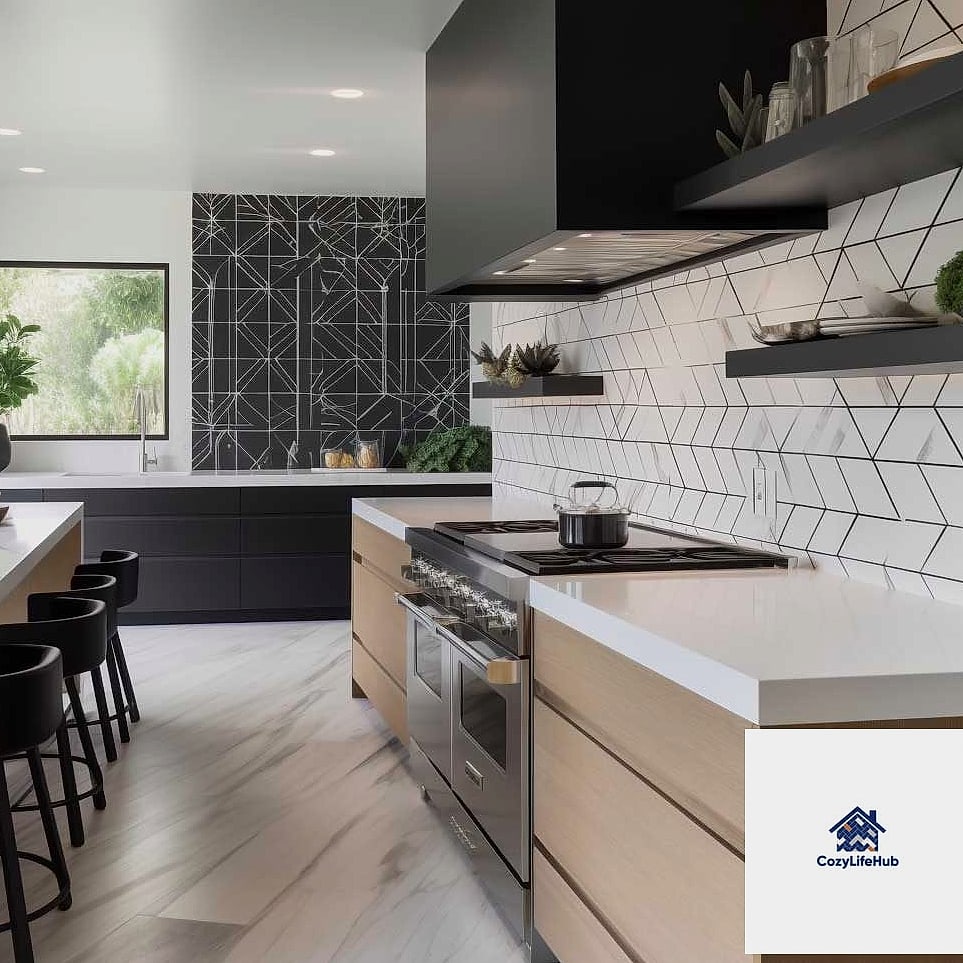
Bold geometric patterns can feel like a lot in a full kitchen but work beautifully in a smaller secondary space. Bring a photo along with the room’s approximate square footage so your contractor can gauge how the pattern scale will read in that size room. Smaller patterns tend to suit tighter spaces, while larger geometric prints need more wall to breathe. This is a fun spot to take a design risk since it’s not the main event of your home.
Textured Matte Tile in a Muted Tone
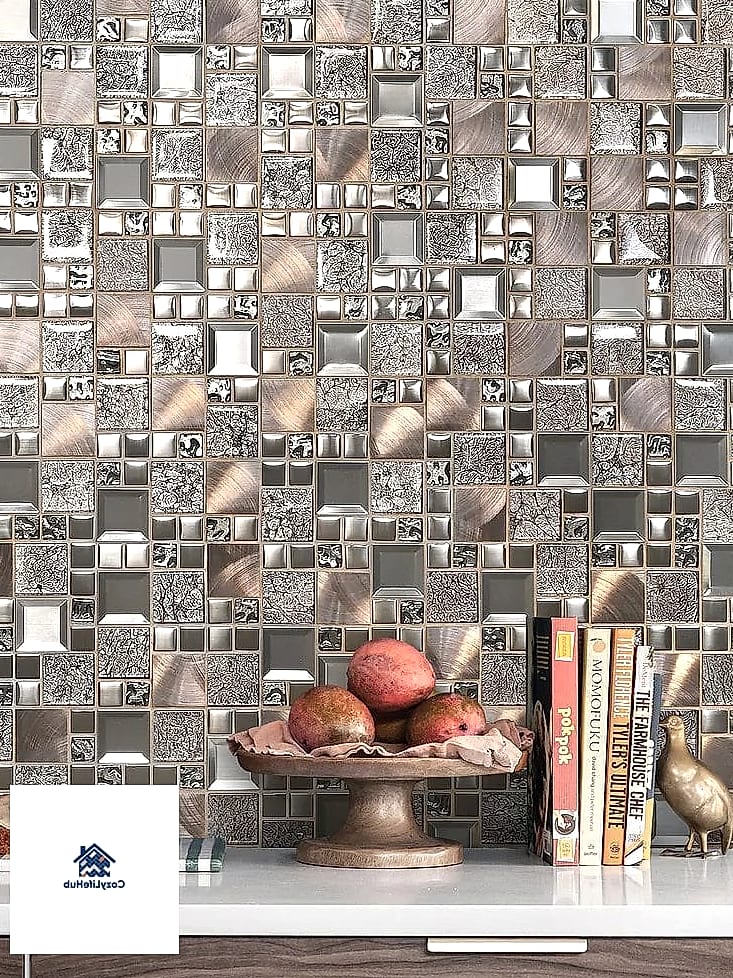
Matte finishes have been showing up more in kitchens that want a softer, less reflective look than traditional glossy subway tile. Bring a photo that shows the texture up close, since matte tile often has subtle dimension that’s hard to see in a wide shot. This finish tends to show water spots less than glossy tile, though it can be slightly more porous depending on the material. Ask your contractor about sealing recommendations if you’re going with a natural material rather than porcelain.
Two-Tone Backsplash with a Transition Line
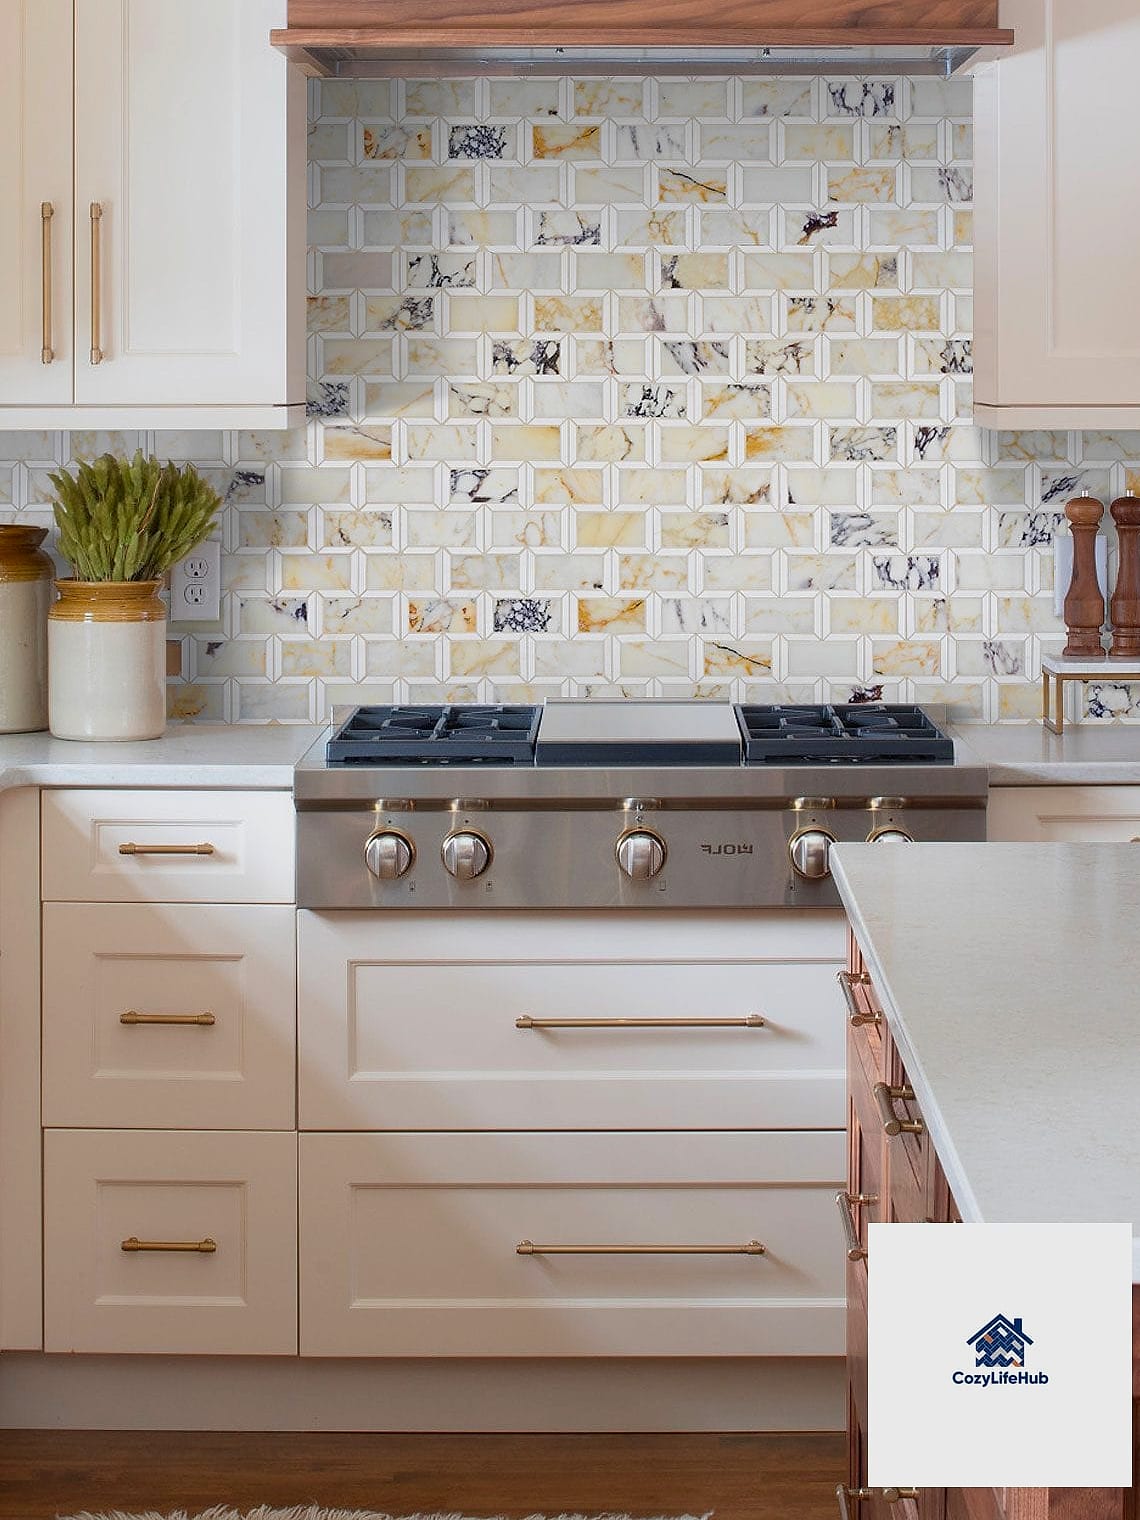
Combining two different tiles, like a simple field tile with a decorative band or a contrasting color at the counter line, gives you a custom look without going all-in on one bold choice. Bring separate photos for each tile along with a rough sketch of where the transition happens. This is a great middle ground if you love a statement tile but worry about committing to it across the whole wall. Your contractor will appreciate having exact placement noted, since transition lines are one of those details that are easy to miscommunicate verbally.
Bringing clear reference photos to your contractor meeting isn’t about having perfect design knowledge. It’s about making sure everyone is picturing the same finished kitchen. Save a few images for each idea that catches your eye, note any specific colors or finishes you want, and don’t be afraid to ask your contractor which options fit your budget and timeline best. A little prep upfront tends to make the whole renovation process feel a lot less stressful.